RHYTHM Matrix - 300pts
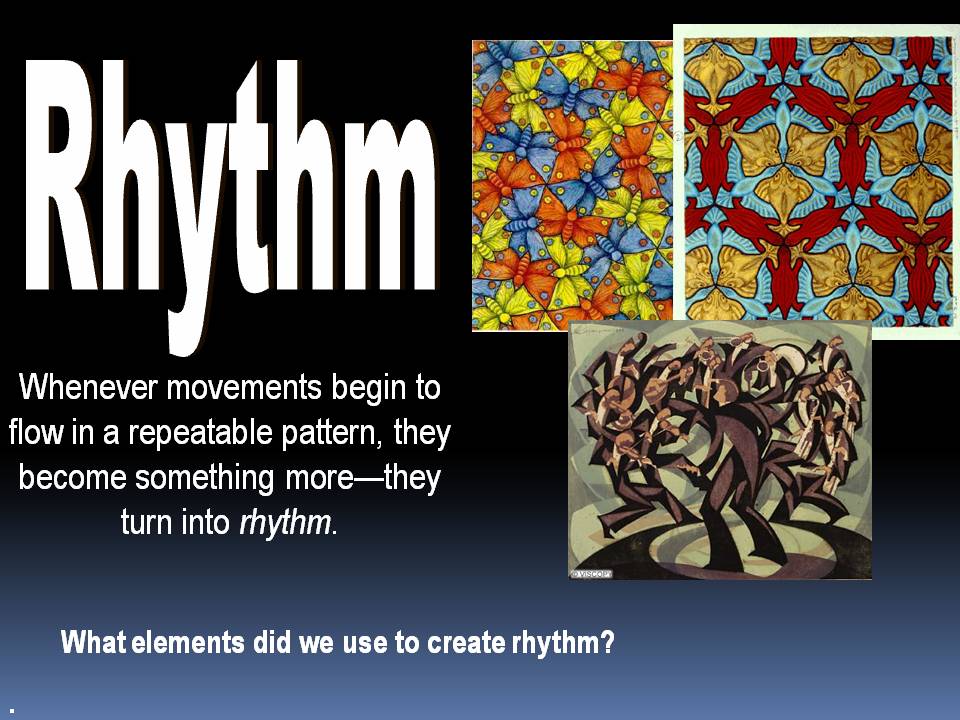
Students will create a simple design made of shapes. They will repeat the design to create a pattern. They will then color it black and white and alternate positive and negative spaces to create a unique rhythm.
SUPPLIES NEEDED:
8''x12'' inch drawing paper, tracing paper, ruler, pencil, black sharpie.
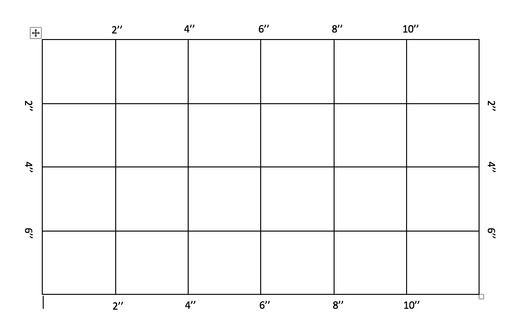
STEP #1 - DRAWING THE GRIDS. Draw a 2''x 2'' grid on the front and back of your 8"x12" drawing paper. Mark every two inches with your ruler around the paper.
SUPPLIES NEEDED:
8''x12'' inch drawing paper, tracing paper, ruler, pencil, black sharpie.
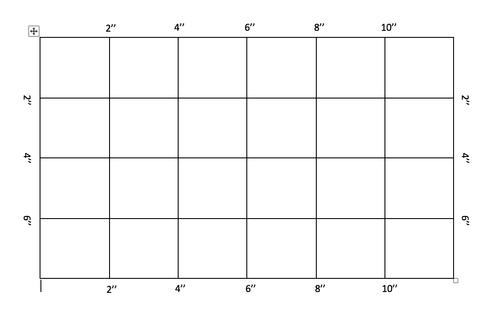
STEP #1 - DRAWING THE GRIDS. Draw a 2''x 2'' grid on the front and back of your 8"x12" drawing paper. Mark every two inches with your ruler around the paper.
FRONT
back
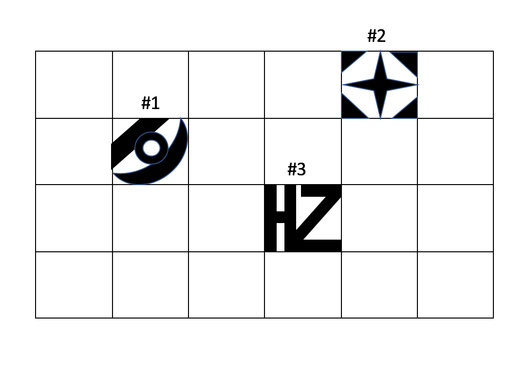
STEP #2 - SIMPLE DESIGN. On one side come up with 3 different simple designs. The design must touch all four edges of the box. The design could be your first and last initial. Shapes are either black or white.
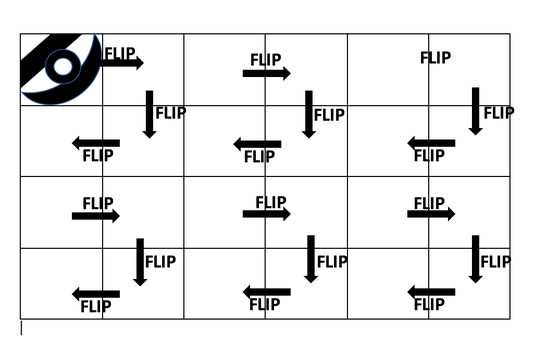
STEP #3 - TRACE DESIGN. On the other side of your drawing paper you will trace one of the designs in every box. Flip the tracing paper each time and go in a clockwise direction in each group of 4 boxes. You will create the mirror image. Shapes will connect to make a new larger shapes.
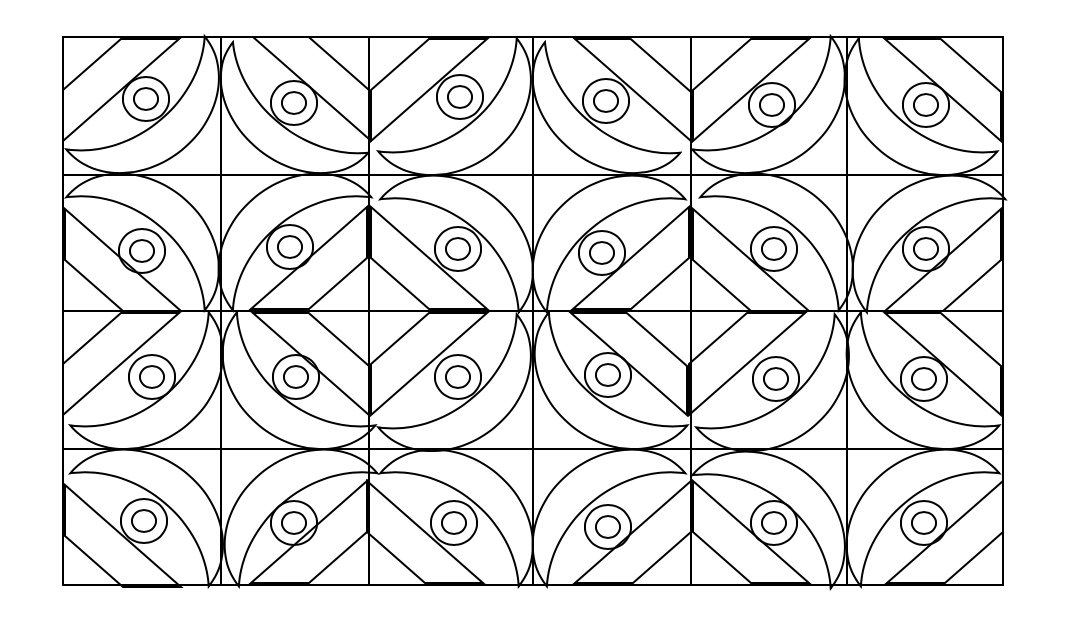
STEP #4 - FILL WITH SHARPIE. Fill your positive and negative shapes with a sharpie. Create a new pattern by alternating positive and negative spaces. When complete write your name and period # on the back.
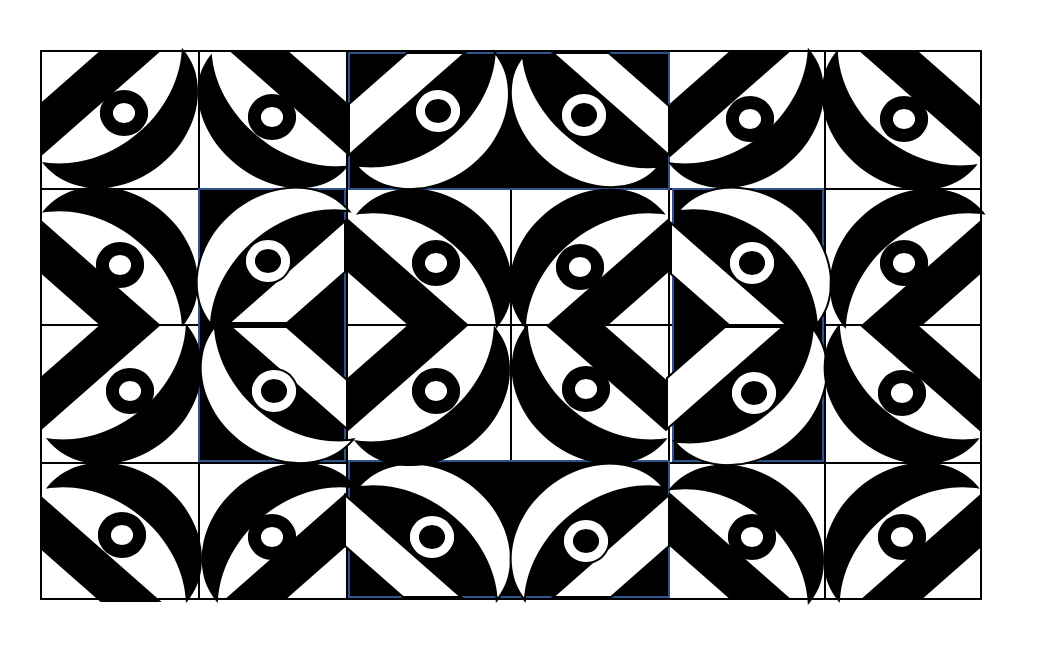
examples of finished rhythm matrix's

|
|
