PHOTOREALISM DRAWING (300 points)
Students will use a grid to copy and enlarge a portrait. They will use the blending technique to shade a range of values.
SUPPLIES NEEDED:
12''x18'', wooden pencil, blender, ruler, Image of portrait.
SUPPLIES NEEDED:
12''x18'', wooden pencil, blender, ruler, Image of portrait.
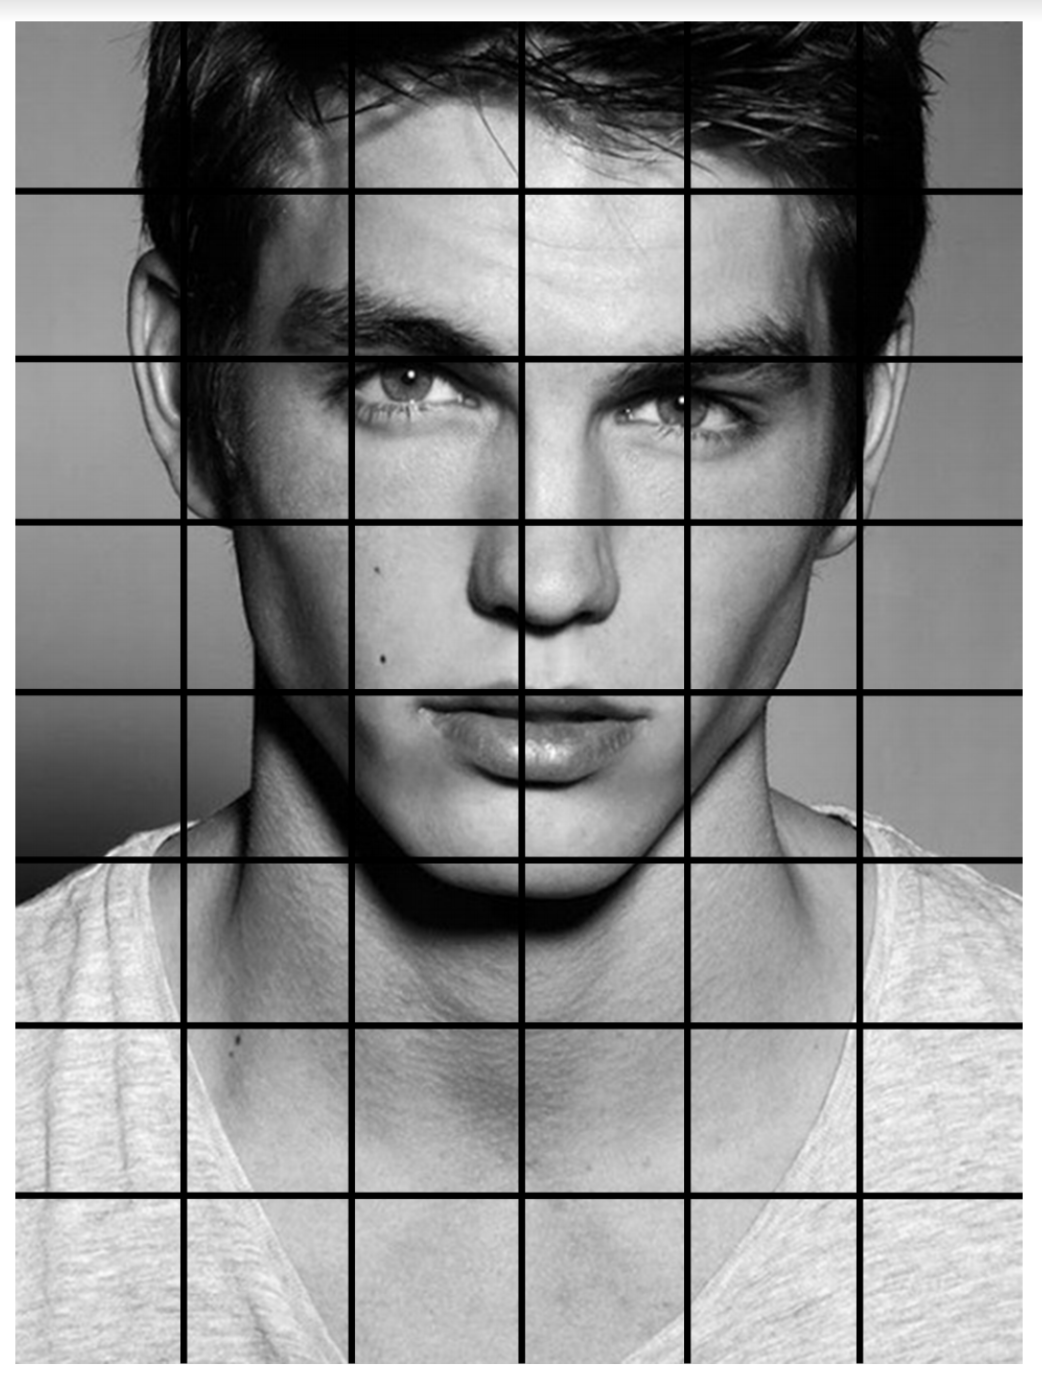
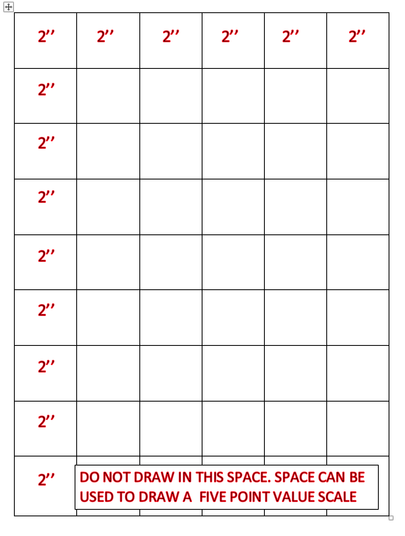
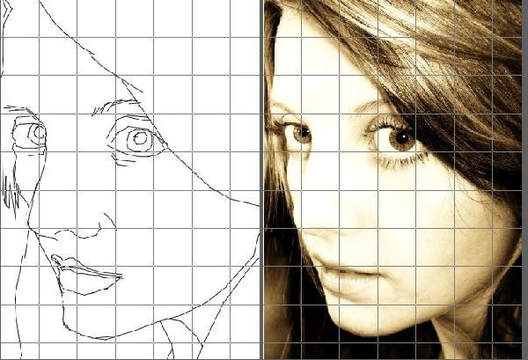
STEP #1 Grid drawing is a very old technique of transferring images. Always make sure that the number of squares on the original picture match the number of squares on your drawing paper. You will draw a 2''x2'' grid on the drawing paper. The grid must be drawn very lightly because you will be erasing later.
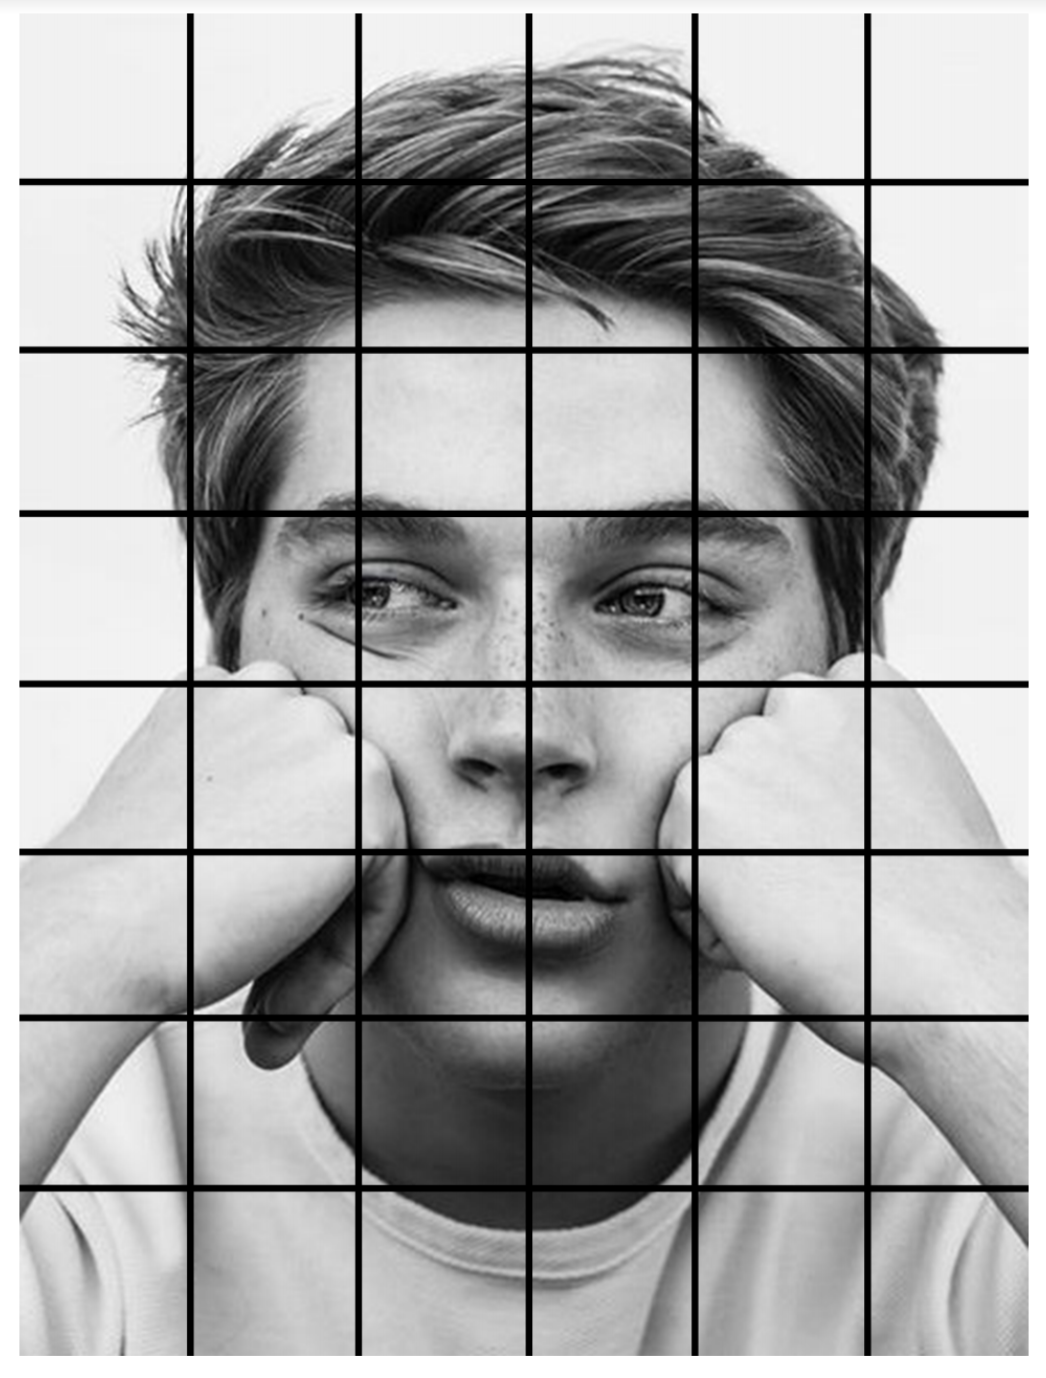
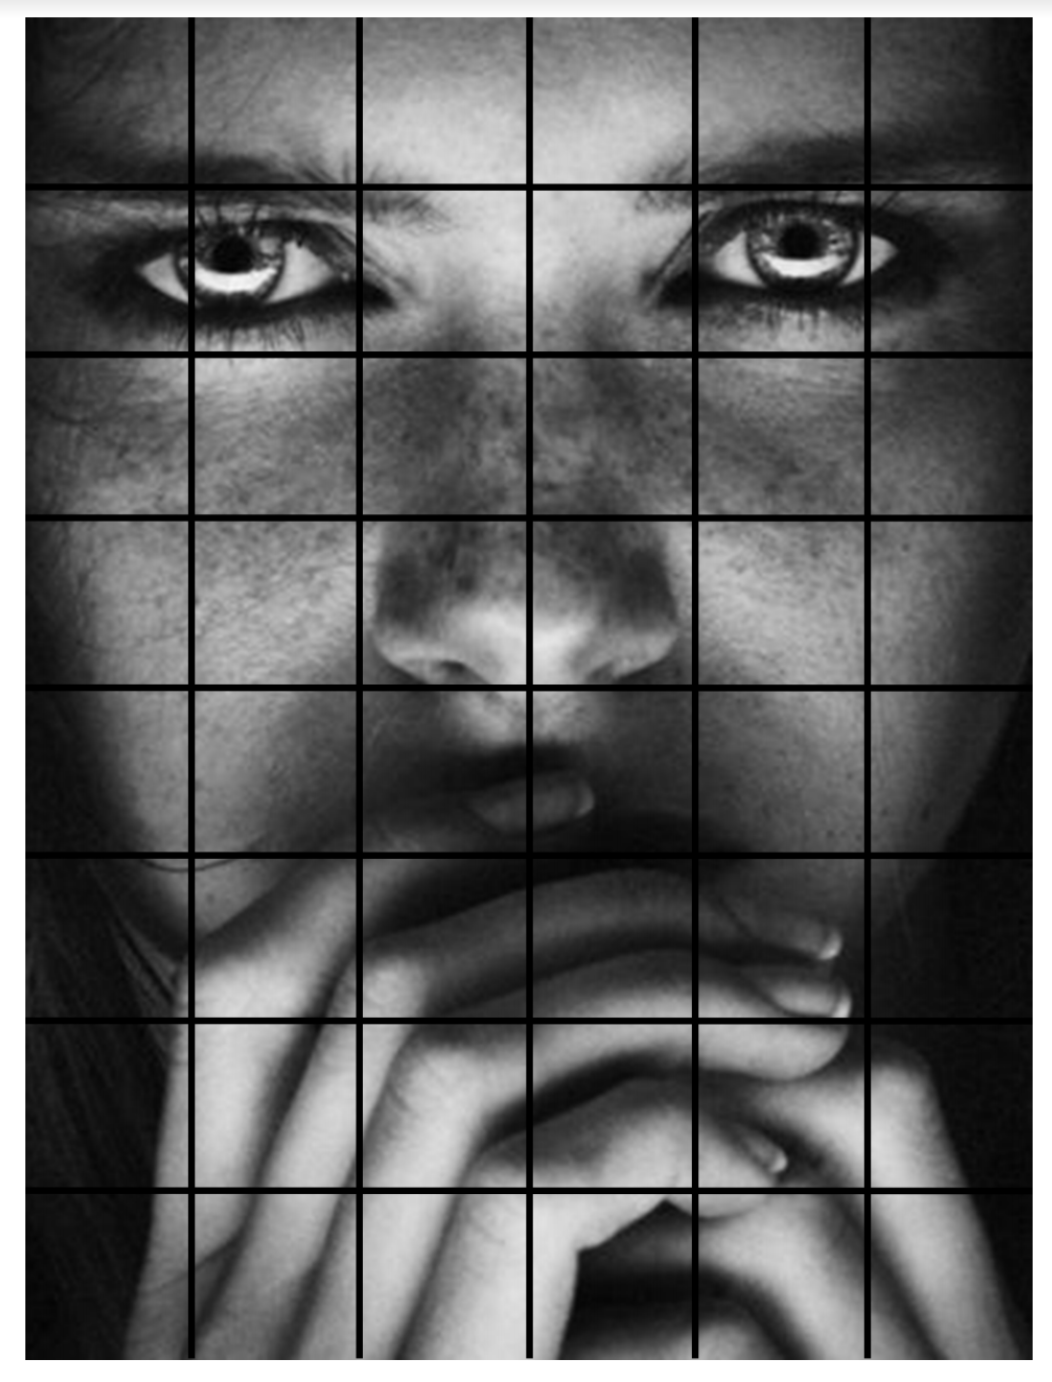
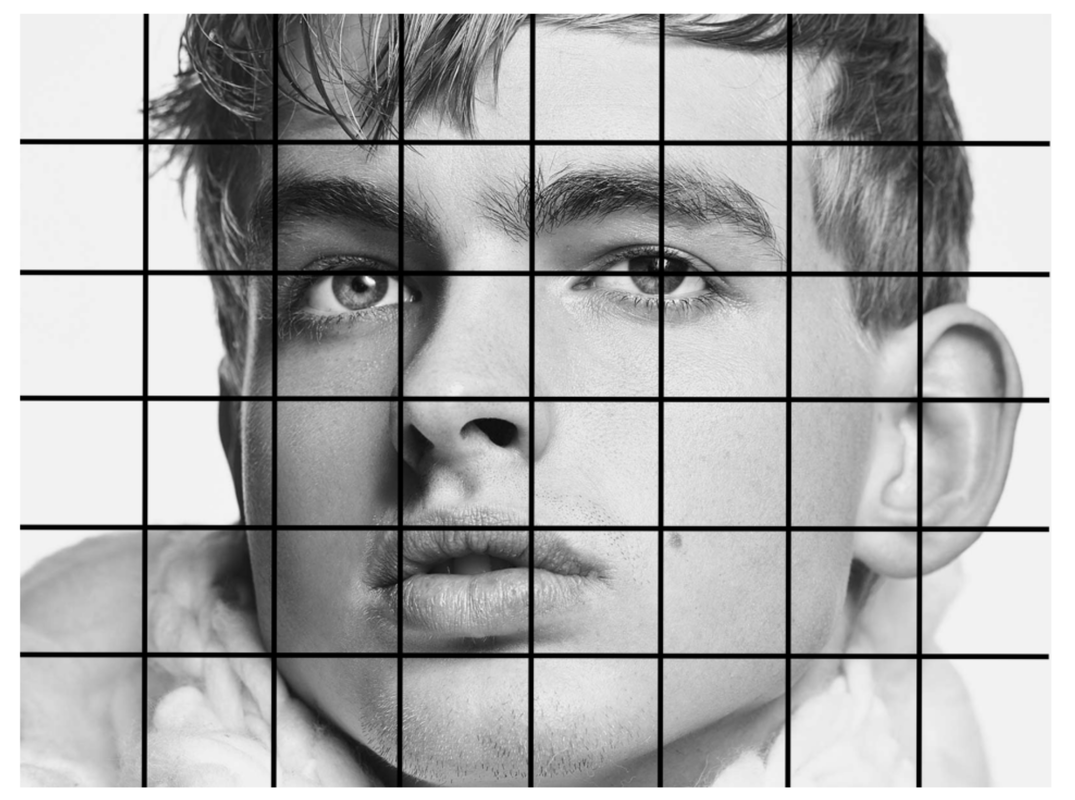
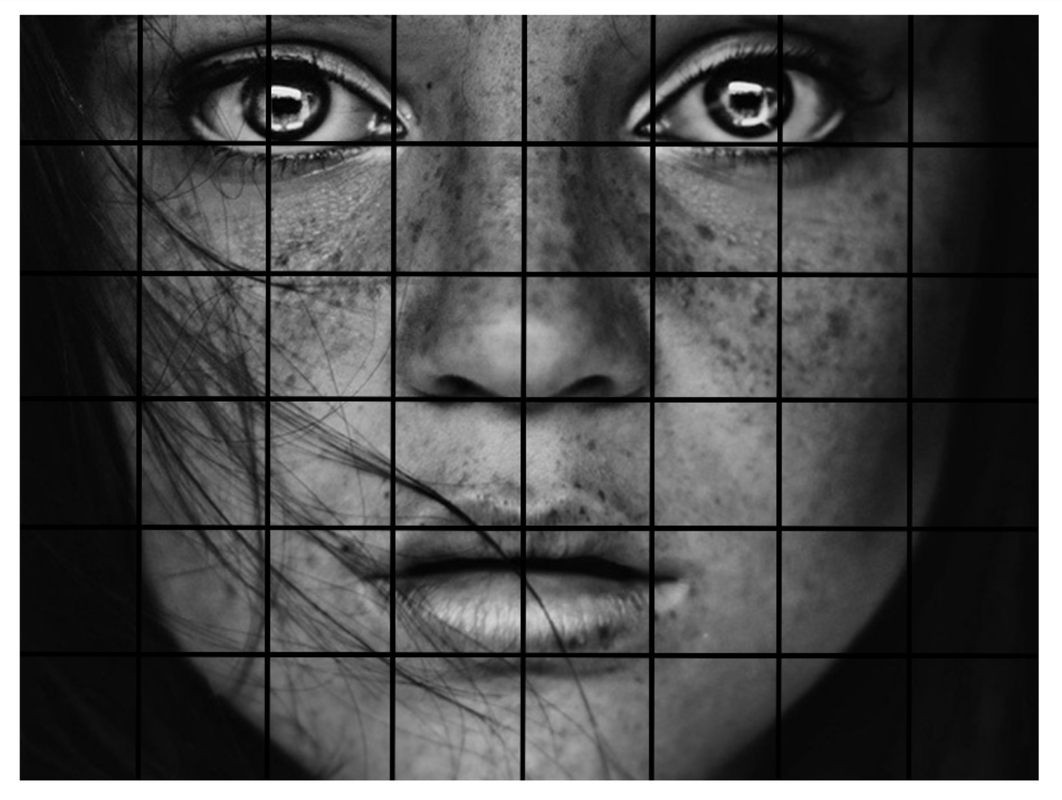
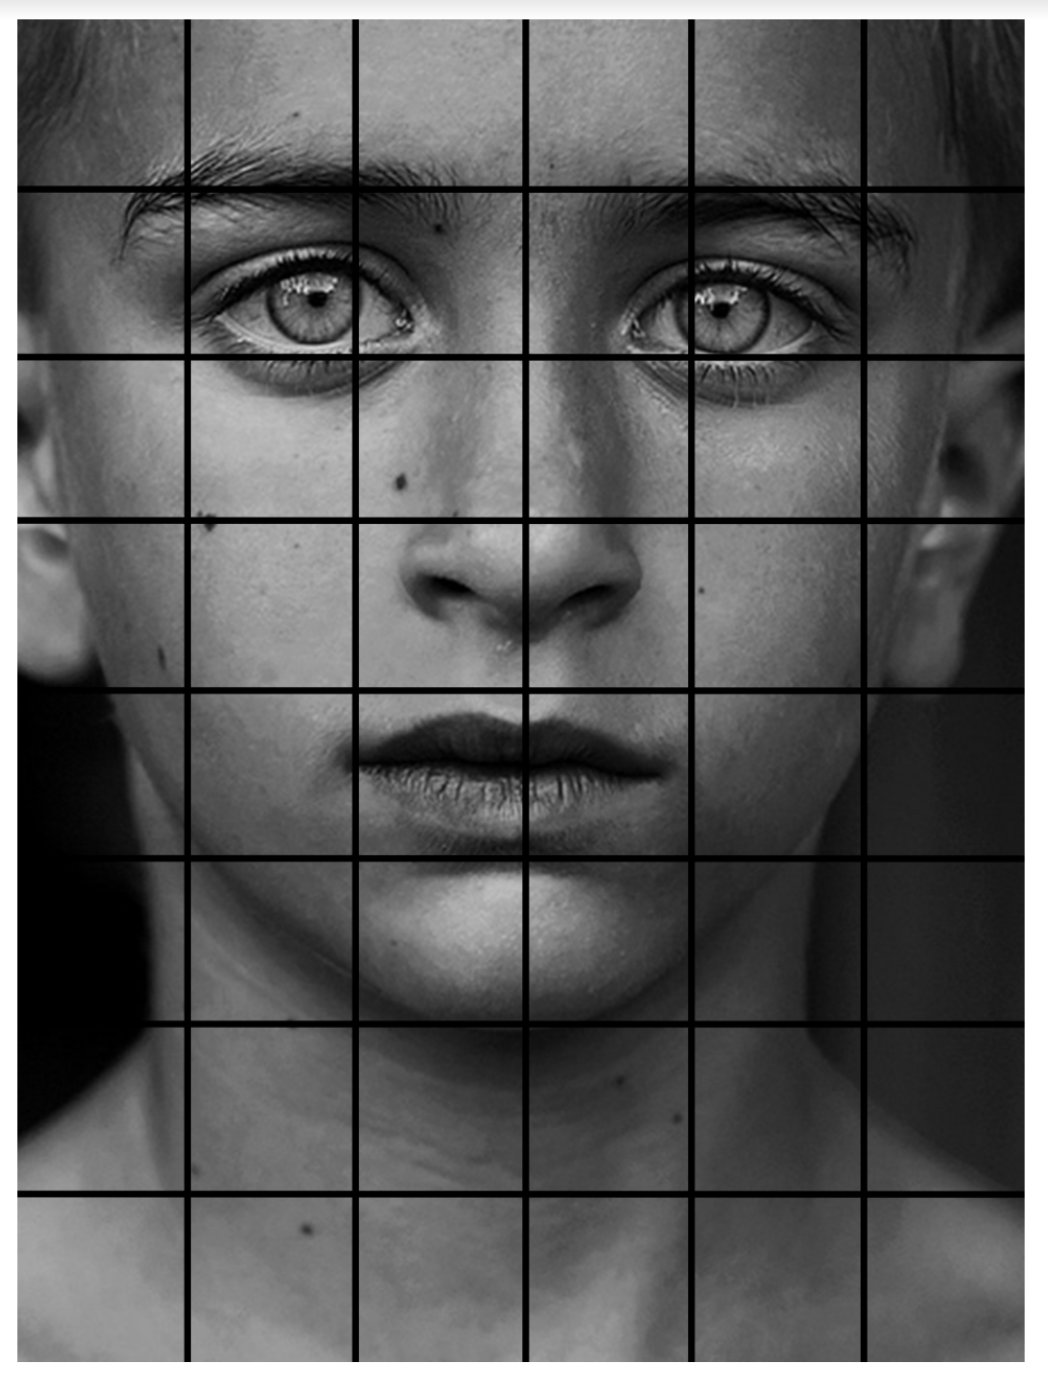
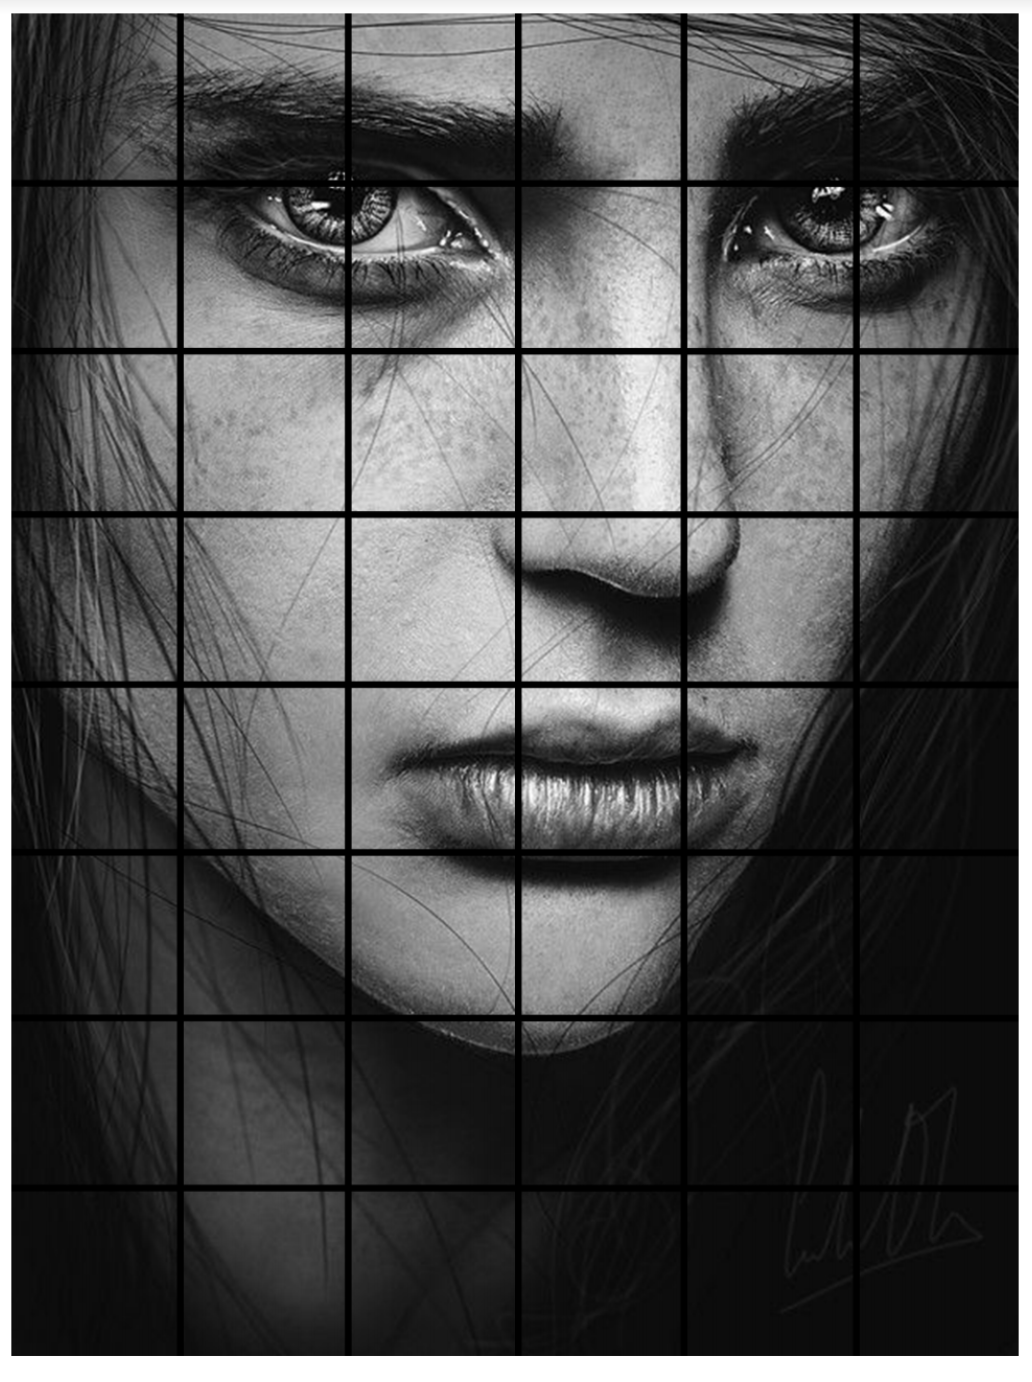
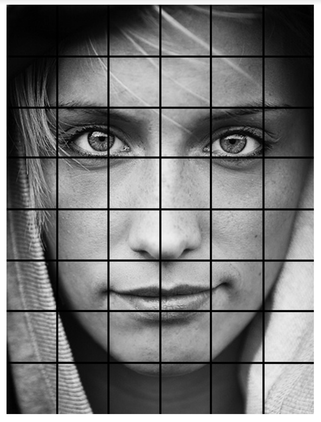
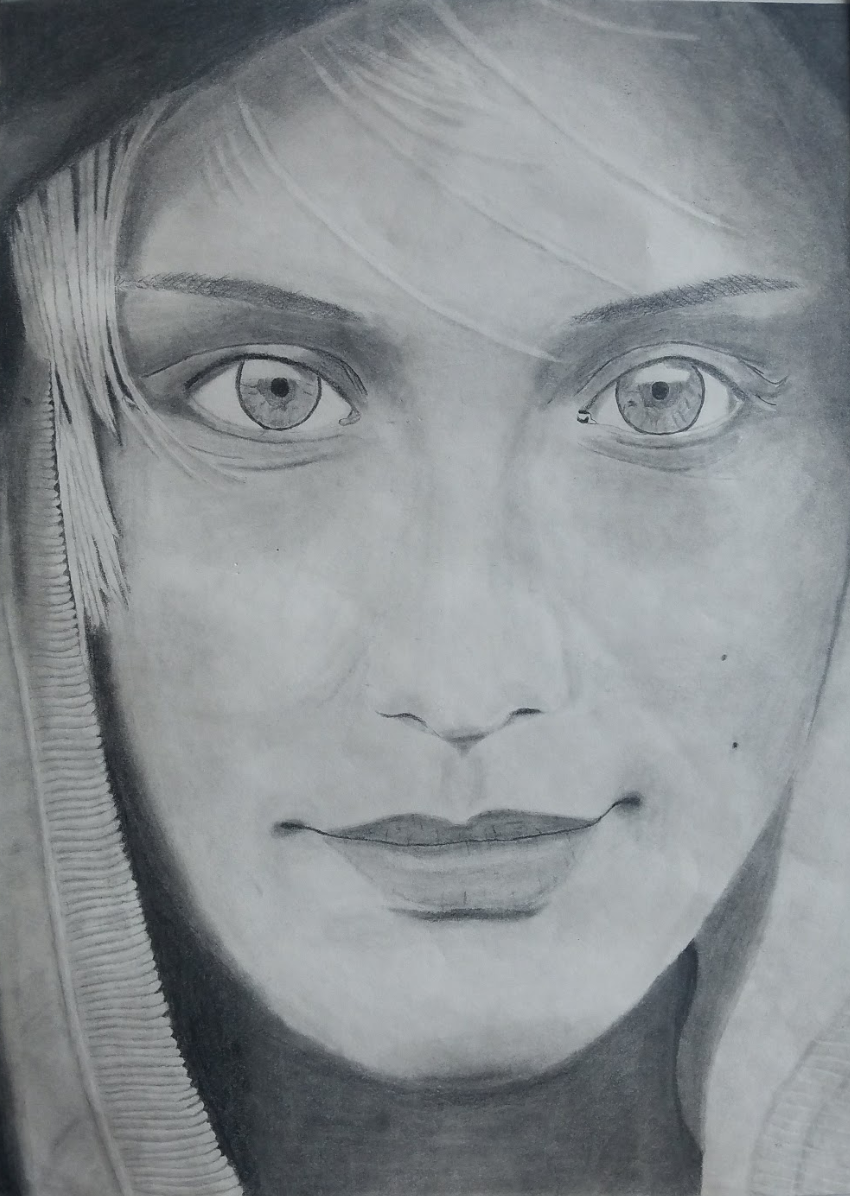
STEP #2 Pick a portrait you will copy. See portaits at the bottom of the page.
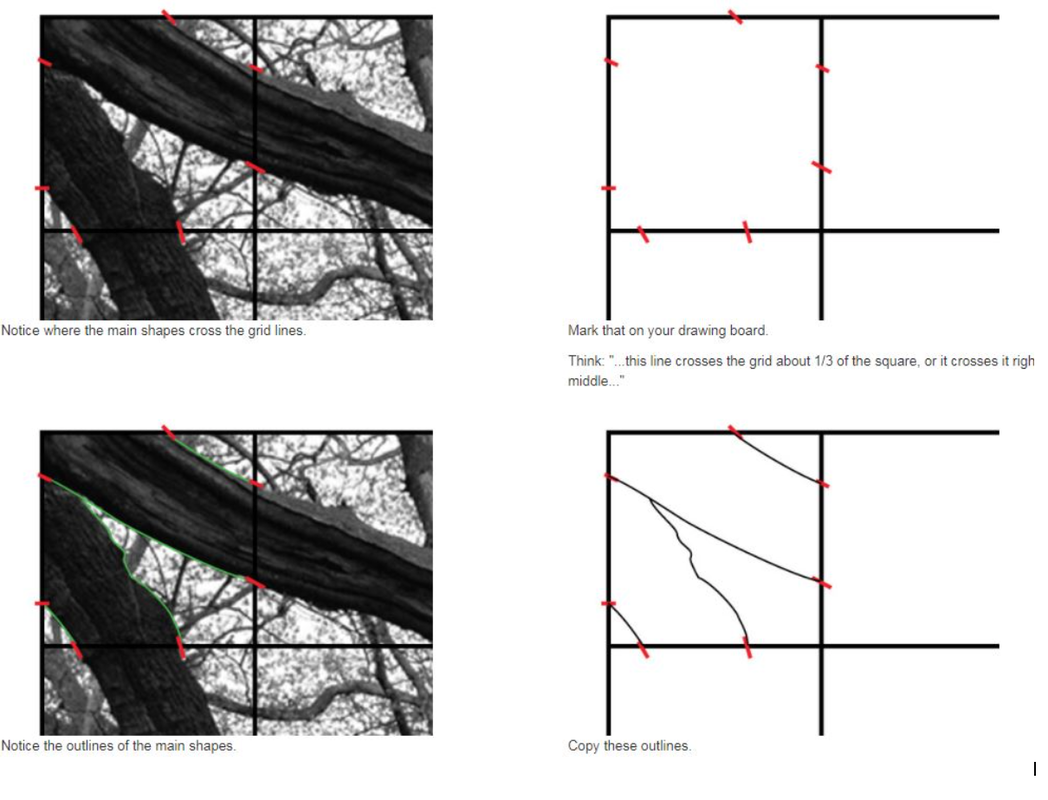
STEP #3 You will copy the lines and shapes one square at a time. You will be doing this in RIGHT BRAIN MODE. Dont make any assumptions. Just focus on the lines and the shapes. Draw exactly what you see. Use the sides of each box to guide you. Find where the line enters the box and exits the box. There are many shapes inside each square. Some of them are well defined, some are blurry. You will copy them all. DO NOT shade anything yet!
STEP #4 When you are finished transferring all the shapes and lines into each square you can erase the grid
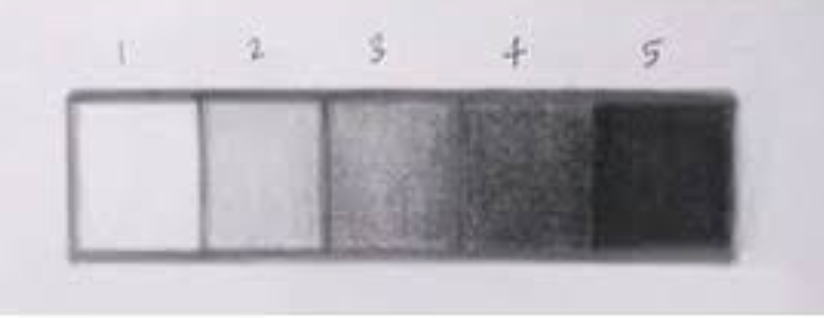
STEP #5 Start shading the values in each square with the blending technique. Refer to your 5 point value scale. Start with the lightest values first 2's and 3's and then add the darker values, 4's and 5's. Erase your 1's completely. The drawing must have a full range of values #1-#5. Use the blender to blend the graphite.
|
|